A CRUISER’s Guide to Selecting and Sizing A Solar Charging System
**We carry all the products you need for a solar system, click on the following for complete solar kits, marine solar panels, lithium batteries
Getting down and designing your cruising boat’s solar setup can feel overwhelming at first.
There are new concepts and terminology to learn. It’s definitely not copy/paste—your boat’s requirements won't have the same as your neighbors. Plus, rummaging through pages of questionable advice to piece together the information you need can be a huge investment of your time.
But adding solar to your boat doesn’t have to be an intimidating process.
We help cruisers every day sort out the details and design solar charging systems that work for them, their cruising style, and their boat.
Today we are putting it all down and creating a step-by-step roadmap of everything you need to design and install a solar charging setup on your boat with confidence. We will:
The first step in designing your solar charging system is to define what you want to accomplish with it.
In order to properly design and select your system, you will first need to define what your needs are. They can be as simple as keeping the battery topped off while the boat is on a mooring or as complex as being fully self-sustaining. Which of the following closest meets your needs?
A. Keep the batteries charged while on a mooring.
B. Supplement current power generation capability. (Run my engine less to charge the batteries)
C. Generate all the power needed while at anchor.
D. Generate all the power needed on passage and at anchor.
E. I’m not sure yet. It depends. How many panels (and how much money) are each of these options going to cost?
Mentally circled your answer? Great. Now you will be able to focus on creating a system that meets your needs and not be distracted by options that don’t fit your system expectations.
From here we will work through what you need for your intended power usage, and that starts with knowing how much power you use.
How to calculate your power consumption
Before selecting your solar panels, you’ve got to figure out how much power you use. Even if you are not planning on being fully self-sustaining, this is an important step.
Taking a complete audit of your onboard power usage will be the foundation for making all your solar charging system decisions.
Your boat, your crew, your budget, your cruising grounds, your sailing/motoring preferences, your hobbies, the size of your refrigerator and/or your freezer (if you have a refrigerator or a freezer), how many movies do you watch at night, have you switched to LED lights yet… all impact the amount of power you use and will make your boat’s needs different than your neighbors.
To simplify the audit process, use a worksheet like the one we have created to calculate how much power you use. You will note the watts that each of your electrical devices draws and how many hours you expect to use it. The worksheet will sum up and convert the watts you use into how many amp hours you need in a week.
The worksheet will also account for variables such as inverter loss and battery inefficiencies. Further, the same worksheet can be used for calculating the size solar array and battery bank you will need to match your power consumption.
Download the Custom Marine Products Solar Module Worksheet
Take the time to consider how your usage will differ on travel days vs. anchor days. Travel days can add hours of draw from electronics, instruments, navigation lights, and autopilots into the mix. Be mindful of anticipated cruising locations—those fans might be running non-stop if heading south. And the fridge might run more frequently too!
Once you know how much power you use, you can figure out how much solar power you need to keep up with your demand.
How many solar panels do I need?
To start, let’s look at how to determine the power you can get from a panel. Solar panels are labeled in how many watts they provide under standard test conditions (20W, 50W, 100W).
For example, a 100 W panel, with 7 hours of direct sunshine will theoretically provide 700 watt hours of power. Of course, in the real world, how much sunshine your panel will receive will vary depending on the shading, weather, your latitude, and the season.
And, since we sail in the real world and not just at the sunny equator, we need to get a realistic value for the sun-hours per day for where and when your boat will be floating. There are many websites, like Big Frog Mountain, that give reliable estimates of average sun-hours per day for your location (and season). Grab the value that matches your cruising destination and season. Four to six average sun-hours per day is typically in the ballpark.
Once you have your average sun-hours per day figure, you can calculate your solar panels output with the following calculation: (Total Panel Watts) x (sun-hours/day) = Watts of power/day
For example:
As you can see, location can have a dramatic effect on solar panel power output, which is why it is an important variable when calculating your solar panel array requirements. Seasonal changes can have similar effects.
One way to combat the decreased direct sunlight in higher latitudes and winter months is by adding the ability to adjust the angle of your solar panels. By angling and rotating them, they can remain perpendicular to the sun throughout the day. This installation can increase output by 30%.
There are new concepts and terminology to learn. It’s definitely not copy/paste—your boat’s requirements won't have the same as your neighbors. Plus, rummaging through pages of questionable advice to piece together the information you need can be a huge investment of your time.
But adding solar to your boat doesn’t have to be an intimidating process.
We help cruisers every day sort out the details and design solar charging systems that work for them, their cruising style, and their boat.
Today we are putting it all down and creating a step-by-step roadmap of everything you need to design and install a solar charging setup on your boat with confidence. We will:
- Help you define a realistic expectation for what you want to accomplish with your setup
- Give you a worksheet to accurately calculate your boat’s power consumption, solar wattage needs, and battery bank requirements
- Explore solar panel types—and sort the pros and cons of each
- Decipher solar panel grading
- Investigate mounting options—and find the best for your boat
- Clarify the differences between solar controllers—so you know which one is most efficient for you
- Check off some wiring tips unique to solar setups
- And, finally, give you the confidence to design and install a solar charging system that is right for you and your cruising style.
The first step in designing your solar charging system is to define what you want to accomplish with it.
In order to properly design and select your system, you will first need to define what your needs are. They can be as simple as keeping the battery topped off while the boat is on a mooring or as complex as being fully self-sustaining. Which of the following closest meets your needs?
A. Keep the batteries charged while on a mooring.
B. Supplement current power generation capability. (Run my engine less to charge the batteries)
C. Generate all the power needed while at anchor.
D. Generate all the power needed on passage and at anchor.
E. I’m not sure yet. It depends. How many panels (and how much money) are each of these options going to cost?
Mentally circled your answer? Great. Now you will be able to focus on creating a system that meets your needs and not be distracted by options that don’t fit your system expectations.
From here we will work through what you need for your intended power usage, and that starts with knowing how much power you use.
How to calculate your power consumption
Before selecting your solar panels, you’ve got to figure out how much power you use. Even if you are not planning on being fully self-sustaining, this is an important step.
Taking a complete audit of your onboard power usage will be the foundation for making all your solar charging system decisions.
Your boat, your crew, your budget, your cruising grounds, your sailing/motoring preferences, your hobbies, the size of your refrigerator and/or your freezer (if you have a refrigerator or a freezer), how many movies do you watch at night, have you switched to LED lights yet… all impact the amount of power you use and will make your boat’s needs different than your neighbors.
To simplify the audit process, use a worksheet like the one we have created to calculate how much power you use. You will note the watts that each of your electrical devices draws and how many hours you expect to use it. The worksheet will sum up and convert the watts you use into how many amp hours you need in a week.
The worksheet will also account for variables such as inverter loss and battery inefficiencies. Further, the same worksheet can be used for calculating the size solar array and battery bank you will need to match your power consumption.
Download the Custom Marine Products Solar Module Worksheet
Take the time to consider how your usage will differ on travel days vs. anchor days. Travel days can add hours of draw from electronics, instruments, navigation lights, and autopilots into the mix. Be mindful of anticipated cruising locations—those fans might be running non-stop if heading south. And the fridge might run more frequently too!
Once you know how much power you use, you can figure out how much solar power you need to keep up with your demand.
How many solar panels do I need?
To start, let’s look at how to determine the power you can get from a panel. Solar panels are labeled in how many watts they provide under standard test conditions (20W, 50W, 100W).
For example, a 100 W panel, with 7 hours of direct sunshine will theoretically provide 700 watt hours of power. Of course, in the real world, how much sunshine your panel will receive will vary depending on the shading, weather, your latitude, and the season.
And, since we sail in the real world and not just at the sunny equator, we need to get a realistic value for the sun-hours per day for where and when your boat will be floating. There are many websites, like Big Frog Mountain, that give reliable estimates of average sun-hours per day for your location (and season). Grab the value that matches your cruising destination and season. Four to six average sun-hours per day is typically in the ballpark.
Once you have your average sun-hours per day figure, you can calculate your solar panels output with the following calculation: (Total Panel Watts) x (sun-hours/day) = Watts of power/day
For example:
- Boston, Massachusetts averages 3.89 hours per sun/day. Therefore, a 100W solar panel can be expected to give 389 Watts of power/day
- Miami, Florida averages 5.62 hours per sun/day. The same 100 W solar panel can be expected to give 562 Watts of power/day
As you can see, location can have a dramatic effect on solar panel power output, which is why it is an important variable when calculating your solar panel array requirements. Seasonal changes can have similar effects.
One way to combat the decreased direct sunlight in higher latitudes and winter months is by adding the ability to adjust the angle of your solar panels. By angling and rotating them, they can remain perpendicular to the sun throughout the day. This installation can increase output by 30%.
Use the same worksheet you used to calculate your power consumption; it will calculate how many watts of solar panels you need. Using the worksheet will also compensate for losses incurred during charging/discharging the battery.
Like most things in life, sometimes compromises must be made. If there is a gap between how much power you use, and how many panels you want to install, the worksheet will tally the balance that must be made up for with an alternative source—like wind, generator, or alternator.
By this point, you know how much power you use and how many total watts of solar you need to keep up. Now it’s time to dive into the fun stuff—the solar panels themselves.
What type of solar panel is best for my sailboat?
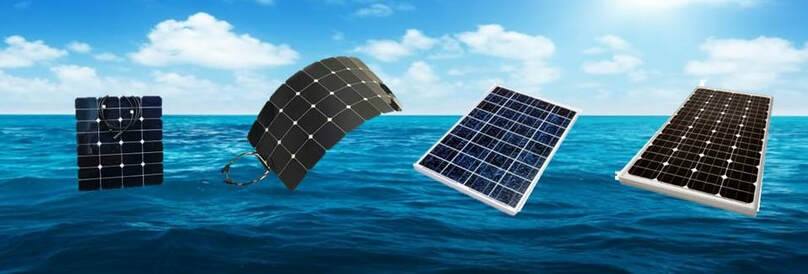
There are two primary solar panel categories to investigate:
- monocrystalline vs. polycrystalline cells
- rigid vs. semi-flexible panels
Monocrystalline
Monocrystalline solar panels are made with the highest quality silicone and are the most space-efficient. The panels are made of individual round cells which are trimmed into nearly square tiles to make the best use of the surface area. This gives monocrystalline panels an easily recognizable tile pattern.
While the monocrystalline are the most efficient, heat tolerant, and longest lasting panels, they are more expensive. They are also less tolerant of shading than their polycrystalline counterparts.
Polycrystalline
Polycrystalline solar panels are made with a simpler manufacturing process and do not require the trimming waste that monocrystalline panels do. Although the whole panel is used, they still are not as space efficient as a monocrystalline panel— meaning you will need to use up more space for the same number of watts.
However, polycrystalline panels are less expensive and are not as sensitive to shading.
Rigid Solar Panels
Rigid panels are the most efficient, durable, economical, shade tolerant, and have the longest lifespans. They usually have aluminum frames allowing for easy and sturdy mounting options. The drawbacks can be the weight, windage, and awkwardness of a square panel on a curvy boat.
Semi-flexible Solar Panels
Semi-flexible solar panels are made of many different constructions and components. The potential efficiency and durability have increased significantly in recent years, but both can vary drastically depending on the manufacturer and composition of the panels.
Because of the vast differences seen in these panels, for this article, we will specifically discuss the characteristics of semi-flexible monocrystalline solar panels using high performance SunPower solar cells and ETFE laminates. These are the panels we recommend and sell because they are truly comparable to the rigid panels.
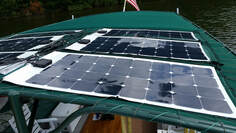
What the semi-flexible panels give up in efficiency, economy, and lifespan, they make up for in options. Finding a place to install solar panels on a boat, with all its curves and weight sensitivities, can be a challenge. The thin, lightweight, moldable panels can provide solutions that ridgid panels just can’t.
They can be sewn (not recommended), bungeed, bolted, taped and adhered with powerful magnets to canvas and deck surfaces alike.
What do the A, B, C, D gradings mean for solar panels?
The silicone crystals used to manufacture panels are graded both on appearance and performance:
- A- cells must be free of any visual defects and perform at or above the defined rate
- B- cells have minor visual defects, but they still perform at the defined rate. These minor defects, however, could lead to a shorter lifespan of the panel
- C-cells have more significant visual and physical defects; they perform at the defined rate or lower than the defined rate by up to 20%. The warranties are shorter than A or B grades.
- D- cells are not useable
Further, the often harsh marine environment can aggravate the minor flaws found in lesser grade panels faster and more prominently than if it were sitting still in the middle of a field.
Note: While Grade A silicone cells are more expensive than the lesser grades, the price of the overall finished panel sometimes does not reflect the grade used. For example, we source ONLY Grade A cells to be used in the panels we sell, and they are slightly more expensive than the lower grade panels available on Amazon or in hardware stores. However, our panels are almost half the price of some other marine retailers who sell lesser grade panels.
How should I mount the solar panels to my boat?
Now that you have worked out which solar panels you want to install, it’s time to look at exactly how to mount them to the boat. While every vessel brings its unique challenges, most mounting solutions can be grouped into a few categories.
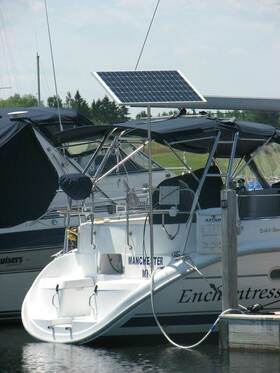
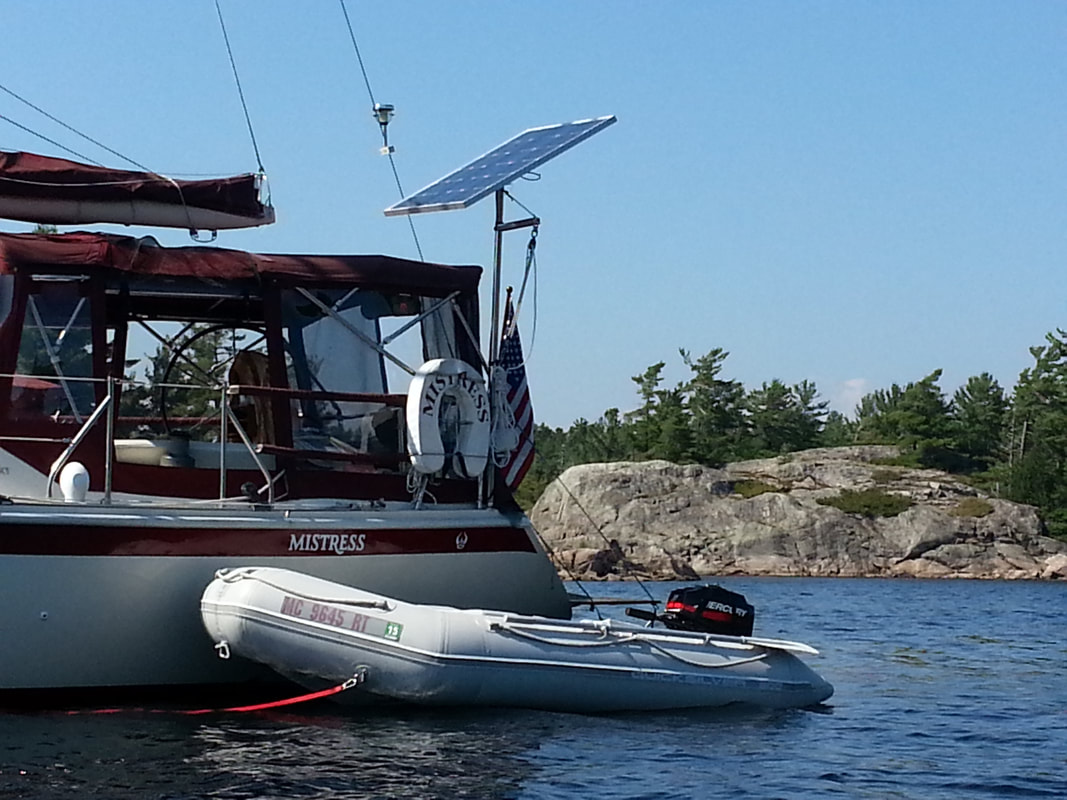
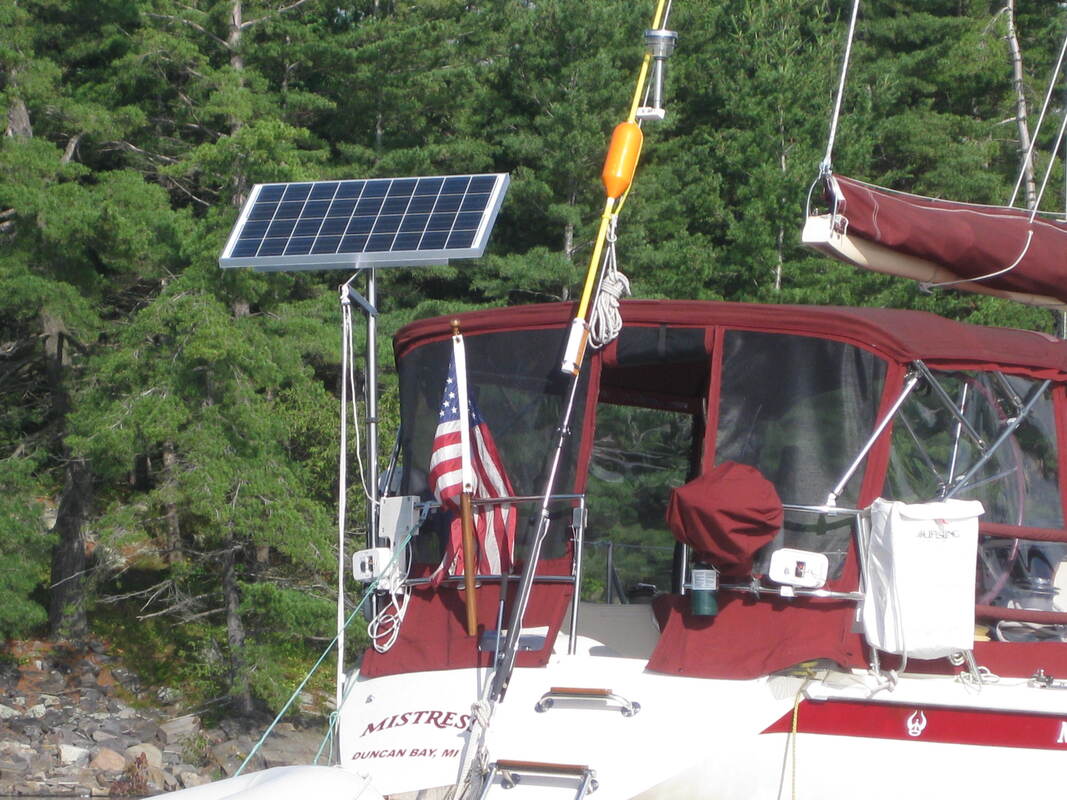
- Top of pole mount- this can be a clean, out-of-the-way installation option that allows for a less shadowy location for a panel. The pole mount can also serve dual-purposes as an outboard dinghy- motor lift and electronics mount. Further, the pole mount can be adjustable so that the panel can be angled and rotated to track the sun throughout the day.
- Arch/Davit mount- If the framework already exists, this is a popular mounting option for multiple panels. Most tend to be fixed-position installations, but it is possible to create a system that allows for angling the panels throughout the day.
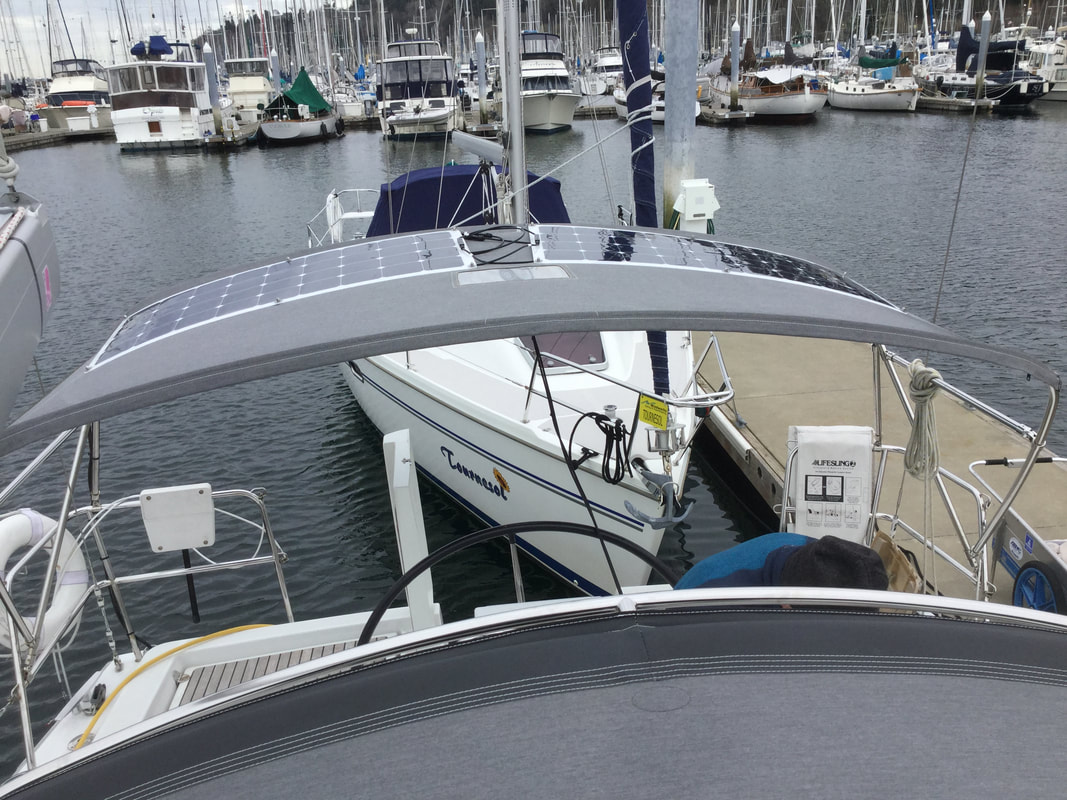
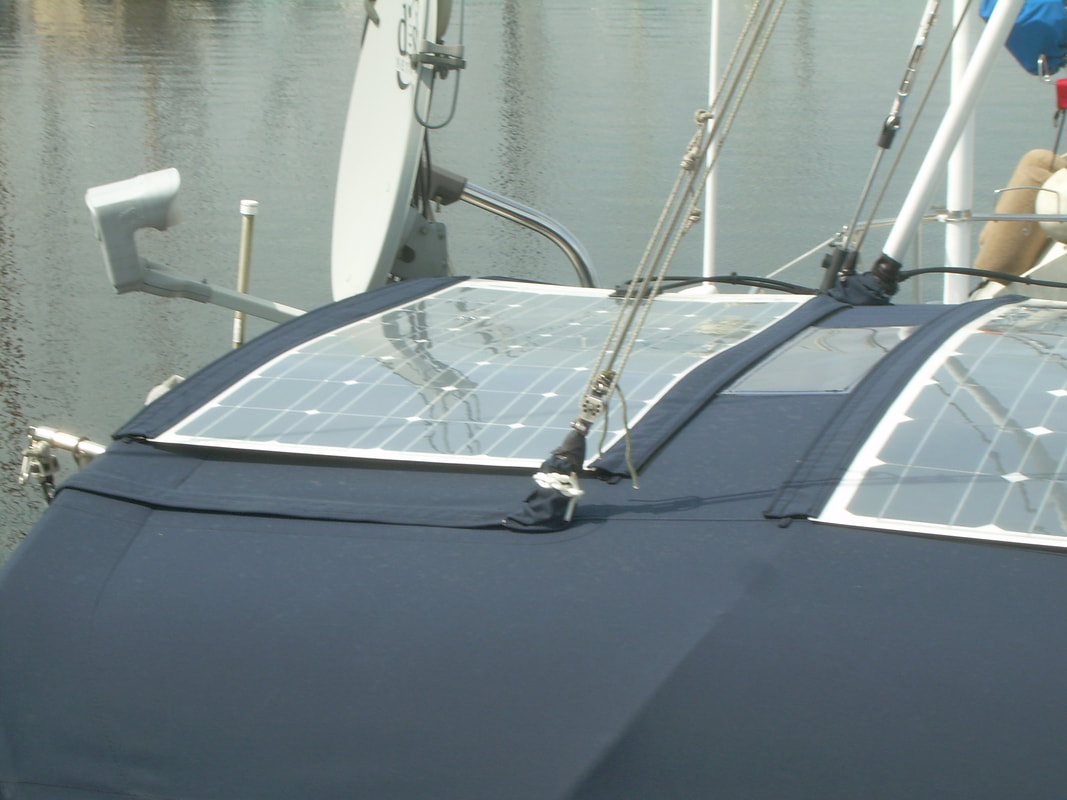
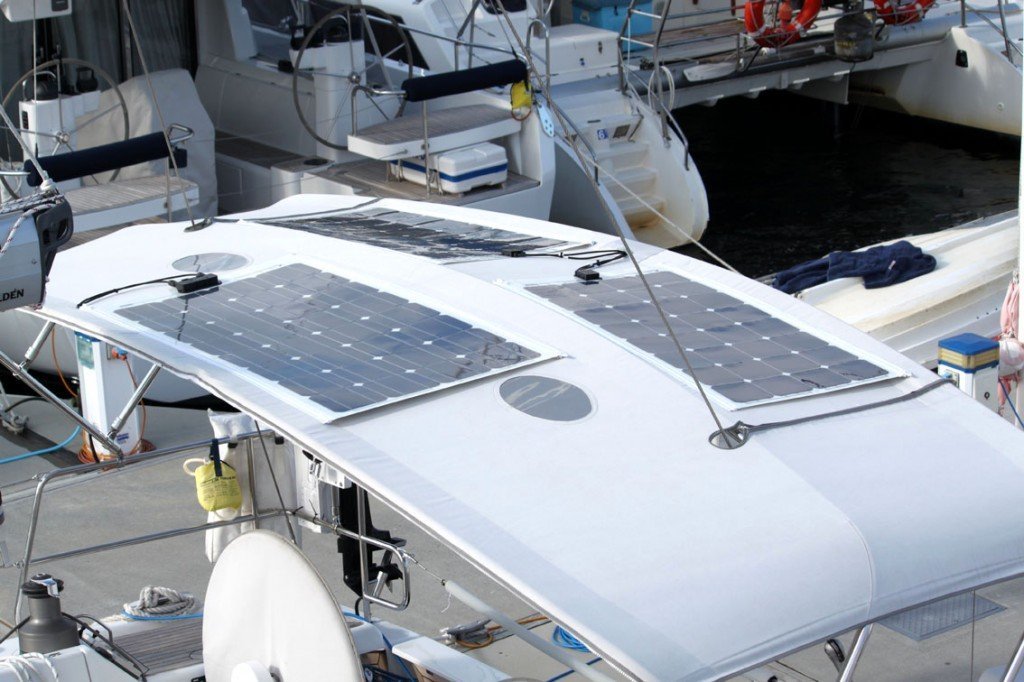
- Bimini Mount-this is a popular mounting location for both rigid panels and semi-flexible panels. For rigid panel installations, the framework is already there to add onto. For semi-flexible panels, there are several options from sewn in zippers, bungee attachments, canvas-friendly bolting options, Velcro, magnets and more. Bimini mounts can offer a streamlined, lower-windage mounting option, but does come with shading challenges from the boom and other rigging. Also, the panels are more susceptible to damage from the boom, low hanging reefing lines, and sails.
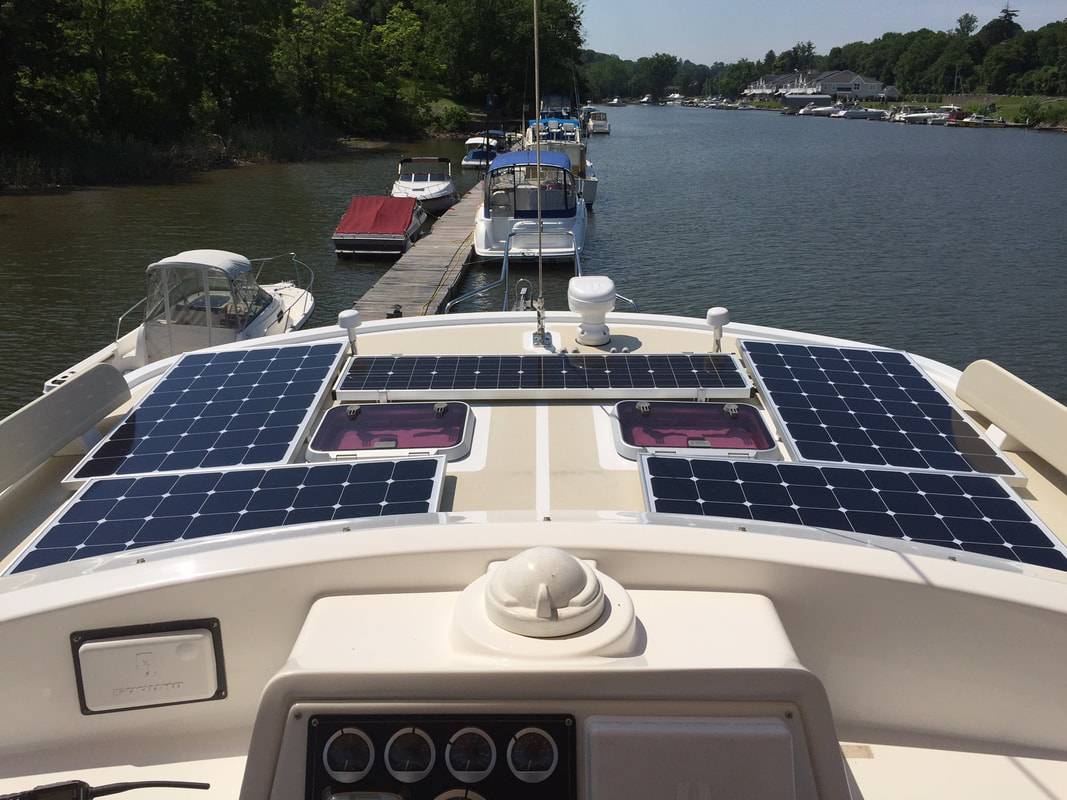
- Deck Mount- can be a sturdy and easy installation for boats with pilothouses or hardtops. Even deck spaces that are not frequently trafficked are an option. If there is a curvature to the deck, the semi-flexible panels can make for a low-profile, smart-looking installation. Like the bimini installation, the panels cannot be adjusted to point towards the optimum angle of the sun throughout the day and can be vulnerable to significant shading issues.
- Side Mount-sometimes you just don’t have enough room overhead and placing solar panels along the side of the boat can become an option. This style arrangement usually hinges on the top so that they can be folded down and out of the way for docking. If hinged, it is possible to make them semi-adjustable. This installation frequently encounters more shading than the pole or arch mount options. More shading means lower average sun-hours per day.
- Removable Panels-depending on your cruising style, you may discover that you only need additional solar energy at certain times. Using a semi-flexible solar panel that can quickly be installed by using the grommets or even strong magnets can allow for flexibility. You could even take your panel with you camping or RVing.
Finding the balance between how much solar you need and how much you have room for can take some finagling, compromising, and ingenuity. But, once you have worked out how much solar you need and where you can install the panels, it is time to focus on the other (but equally important) component of a solar system setup—the batteries.
Matching the battery bank to the solar panel array
Because you will only be making solar power for a few hours a day, you need a battery bank that is properly sized to store the power for later use and carry you until you can make more. It is generally advised to have enough battery power to run your boat for at least 24 hours. I prefer 48 hours minimum.
A battery bank that is too large for the charging systems can suffer from chronic under-charging, which is detrimental to the health of the batteries.
A battery bank that is too small will not be able to keep up with the usage demands especially on cloudy days and can create constant stress on the batteries.
To determine the proper battery bank size for your consumption and solar panel input, you can use the same Custom Marine Products Solar Module Worksheet you already used to calculate your energy usage and solar panel wattage needs.
You will be determining your battery bank size as calculated in amp hours. An amp hour (Ah) is how many amps of current the battery can handle for a specified time (usually 20 hours). If working with traditional battery electrolytes (Wet-cell, AGM, Gel), only 50 % of the stated amp hours are available for use. This is because discharging the battery below 50 % of its capacity will cause damage to the battery and greatly reduce its lifespan.
For example:
If your battery bank has 400 Ah (as stated on the batteries), you have approximately 200 Ah of useable power to work with. 200 Ah can provide 10 amps of current draw for 20 hours. (10 Amps x 20 Hours= 200 Ah)
The worksheet will also take into consideration special conditions like temporary, heavy-electrical loads, high-charge currents, and temperature variables so that you can have a complete picture of your battery bank needs.
Often, cruisers find that adding a solar charging system will require revamping their battery bank setups, so this consideration should be addressed in the designing phase of the project. While delving into battery selection is beyond the scope of this article, we will be addressing it in a future post.
Note: The above example and the calculations for the linked worksheet are for traditional electrolyte batteries. If using Lithium batteries your calculations will be different because lithium batteries can be discharged down to 10 % (or more) of their total capacity. If you have lithium batteries like our new marine LiFePO4 batteries, or are considering them, give us a call, and we can help you work out your needs.
How to select a solar charge controller for your solar panels
Now that you have found a balance for the energy used, made, and stored on your boat, let’s look at selecting a solar charge controller.
What does a solar charge controller do?
Solar panels produce optimal power at various voltage/amperage ratios depending on sun and shading conditions.
Batteries accept charging power at various voltage/amperage ratios depending on the battery type and battery state-of-charge.
These power ratios can be quite different.
The solar controller is the arbitrator. It accepts the optimal power ratio from the solar array and converts it to the power ratio optimally accepted by the battery bank.
What type of solar charge controller do I need?
There are two types of solar charge controllers, PWM (Pulse Width Modulation) and MPPT (Maximum Power Point Tracking). Both are found on cruising sailboats. Let’s take a closer look at each and when each might be the best choice for your setup:
Deciding on which style of charge controller fits your system best will depend on the size of your solar array, your budget, and perhaps even the climates you sail in.
The size of your controller will be determined by your battery bank voltage (12, 24, 48) and the amps coming from your solar panels. Use the following to determine your minimum Charge Controller Amp rating:
(total panel watts) / (battery bank voltage) =charge controller minimum amp requirement
Connecting all the pieces- solar charging system wiring tips
Whew, all the calculations and decisions are made. Congrats! You’ve built your ideal solar system, and now you just need to connect all the components together.
This article won’t go into the specifics of wiring your panels, but will address some of the wiring tools and tips that are unique to solar charging systems and may come in handy during the design and purchasing phase of your project:
Solar panels produce optimal power at various voltage/amperage ratios depending on sun and shading conditions.
Batteries accept charging power at various voltage/amperage ratios depending on the battery type and battery state-of-charge.
These power ratios can be quite different.
The solar controller is the arbitrator. It accepts the optimal power ratio from the solar array and converts it to the power ratio optimally accepted by the battery bank.
What type of solar charge controller do I need?
There are two types of solar charge controllers, PWM (Pulse Width Modulation) and MPPT (Maximum Power Point Tracking). Both are found on cruising sailboats. Let’s take a closer look at each and when each might be the best choice for your setup:
- The PWM solar charge controllers- are simple, efficient, and economical. They regulate the power going into the batteries and can charge at altered rates depending on the battery level to keep the batteries healthy. While the MPPT charge controllers are more complex, the PWM controller is actually the best choice for solar arrays of 20V and less than 200W because the advantages of the MPPT charge controllers are less noticeable in this range.
- MPPT solar charge controllers- are much more sophisticated (and more expensive) than the PWM controllers. In ideal conditions, they can be 10-30% more efficient than the PWM controllers. Because the MPPT controllers actually use more power, they are best suited for panels greater than 20V or solar arrays over 200 watts. Below these parameters, the added expense vs. added benefits does not equal out. MPPT controllers convert excess voltage into amperage allowing the charge voltage going into the batteries to be kept at an optimal level. Because of their boosting capabilities, MPPT controllers also have an advantage in cold environments and can lead to improved overall efficiency.
Deciding on which style of charge controller fits your system best will depend on the size of your solar array, your budget, and perhaps even the climates you sail in.
The size of your controller will be determined by your battery bank voltage (12, 24, 48) and the amps coming from your solar panels. Use the following to determine your minimum Charge Controller Amp rating:
(total panel watts) / (battery bank voltage) =charge controller minimum amp requirement
Connecting all the pieces- solar charging system wiring tips
Whew, all the calculations and decisions are made. Congrats! You’ve built your ideal solar system, and now you just need to connect all the components together.
This article won’t go into the specifics of wiring your panels, but will address some of the wiring tools and tips that are unique to solar charging systems and may come in handy during the design and purchasing phase of your project:
- Connectors-solar panels are connected with waterproof MC4 connectors.
- MC4 disconnect tool-the MC4 connector can be connected by hand but can be difficult to disconnect without a plastic, wrench-like tool to disconnect the male and female ends. Remember to throw one in your shopping cart!
- Solar Panel Wiring-the size wiring you use will depend on your panel array size and the length of your wire. A simple solar wiring sizing chart can help select the proper size. Wire made for solar panel use has a UV protective covering, and the round wire will fit the crimped-on MC4 connectors.
- Pre-made wire- predetermined lengths of wire with MC4 connectors attached can make installation quick and easy, but the bulky connectors can be nearly impossible to thread through the confined spaces—a valid consideration when selecting your wire.
- MC4 Wire crimper-if you choose to splice your own MC4 fittings on your wire, a specialized wire crimper can make the process easier and the fittings more secure.
That’s it!
With your new solar charging system in place and all wired up, you are free to enjoy the extended solitude of idyllic, remote coves and coasts with all the benefits of your electronics--and without the noise and odor of your diesel.
Have questions?
We are here to help you with sizing and selecting a solar panel system that is right for you and your boat.
While the guidelines and the worksheet provided in this post will hopefully clarify the process and give you the information to make confident decisions while outfitting your cruising boat with solar, don’t hesitate to reach out to us. You can connect with us by phone, email, or in the comments below. We enjoy talking with other boaters and are happy to answer your questions.
Links:
Custom Marine Products Solar Module Worksheet:
https://www.custommarineproducts.com/uploads/1/4/3/7/1437708/custom_marine_solar_calculation_worksheets.pdf
sun-hours per day for your location:
http://www.bigfrogmountain.com/SunHoursPerDay.html
comparison of the ridgid monocrystalline, flexible monocrystalline, and ridgid polycrystalline panels:
https://www.custommarineproducts.com/blog/finally-a-flexible-solar-panel-with-high-efficiency
Pole mount:
https://www.custommarineproducts.com/solar-panel-mounting-systems.html
bolted:
https://www.custommarineproducts.com/blog/another-idea-for-attaching-our-semi-flexible-solar-panels-to-your-canvas
strong magnets:
https://www.custommarineproducts.com/blog/an-innovative-way-to-mount-flexible-solar-panels
Solar Charge Controller:
https://www.custommarineproducts.com/solar-charge-controllers.html
wiring your panels:
https://www.custommarineproducts.com/blog/wiring-a-marine-solar-system
solar wiring sizing chart:
https://www.custommarineproducts.com/uploads/1/4/3/7/1437708/custom_marine_products_12_volt_allowed_drop.pdf

